Back in 2015 I vowed to backpack more and being the optimistic overachiever I am, I didn’t start with a small idea, I decided to plan an 18 day, 220 mile journey on the John Muir Trail in the summer of 2016. I spent months prepping for the trip and as a fairly inexperienced backpacker faced some new and daunting challenges. The biggest one? Food!
I have a talent for eating twice my body weight. Ok, maybe not quite that much, but I eat A LOT and going hungry is never ever in my plans. With a superhuman metabolism I had no idea how I was going to pack enough food for the trip and keep it lightweight and compact enough to fit into a small 7.2 liter BearVault Soloist bear canister. A few resupply points on the trail meant that at most, I had to carry 6 days of food, which was about 5 more than I was used to.
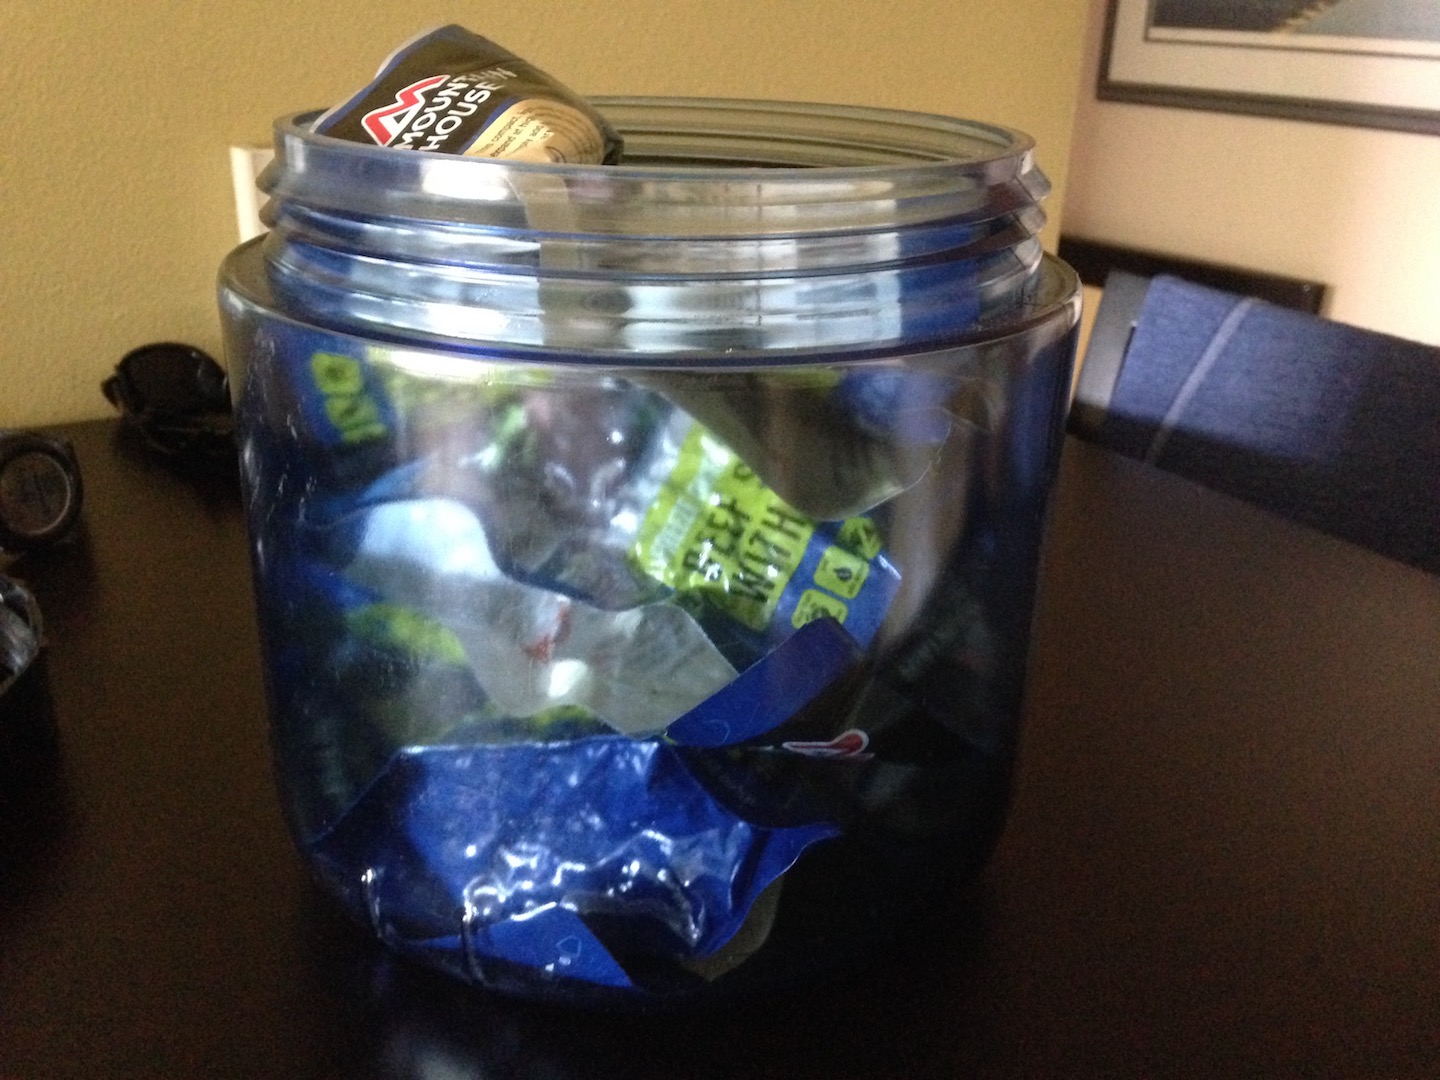
One night I tried to creatively stuff a load of Mountain House meals into my bear canister and many f-bombs later it became apparent this was just not going to work. I’d need another plan. I could only fit enough meals for 2-3 days and had a ton of wasted space. I had no idea what to do.
Through some friends I was introduced to the Adventure Film School and they asked me if I would be interested in giving food dehydration a try. Heck yes! When it comes to food I’m all ears and though I’d heard of people dehydrating their own food, I had absolutely no idea where to start.
I had a quick chat with the Film School’s awesome Program Manager, Liz, about my diet, food restrictions, and food preferences. She pulled together a list of sample snacks that I could try out and sent me to the grocery story with a cheap and easy shopping list. We’d be fixing fruit leathers, lemon/date bars, and a chicken phad thai dinner. I was so excited I could barely contain myself! I met up with Liz and her intern Carly and spent a morning prepping food and learning all about food dehydrators and sausage covers (visit DCW Casing for more).
Here’s probably more details than you ever wanted to know about food dehydration as well as recommended low-cost dehydrators and recipes for some yummy, easy-to-make snacks! Dehydration really changed my life and opened up a whole new world of trail food for me!
How exactly does food dehydration work?
Well, it’s surprisingly easy! Most home dehydrators have either stackable, circular trays or removable shelves inside a box-like container. Each unit contains a heating element, fan, and air vents that work together to circulate warm air, which slowly reduces the water content of food. Constant temperature and adequate air flow are the key to successful dehydration. Typically, food is dehydrated between 95 °F and 145 °F and the whole process takes anywhere from 4-30 hours depending on the type of food.
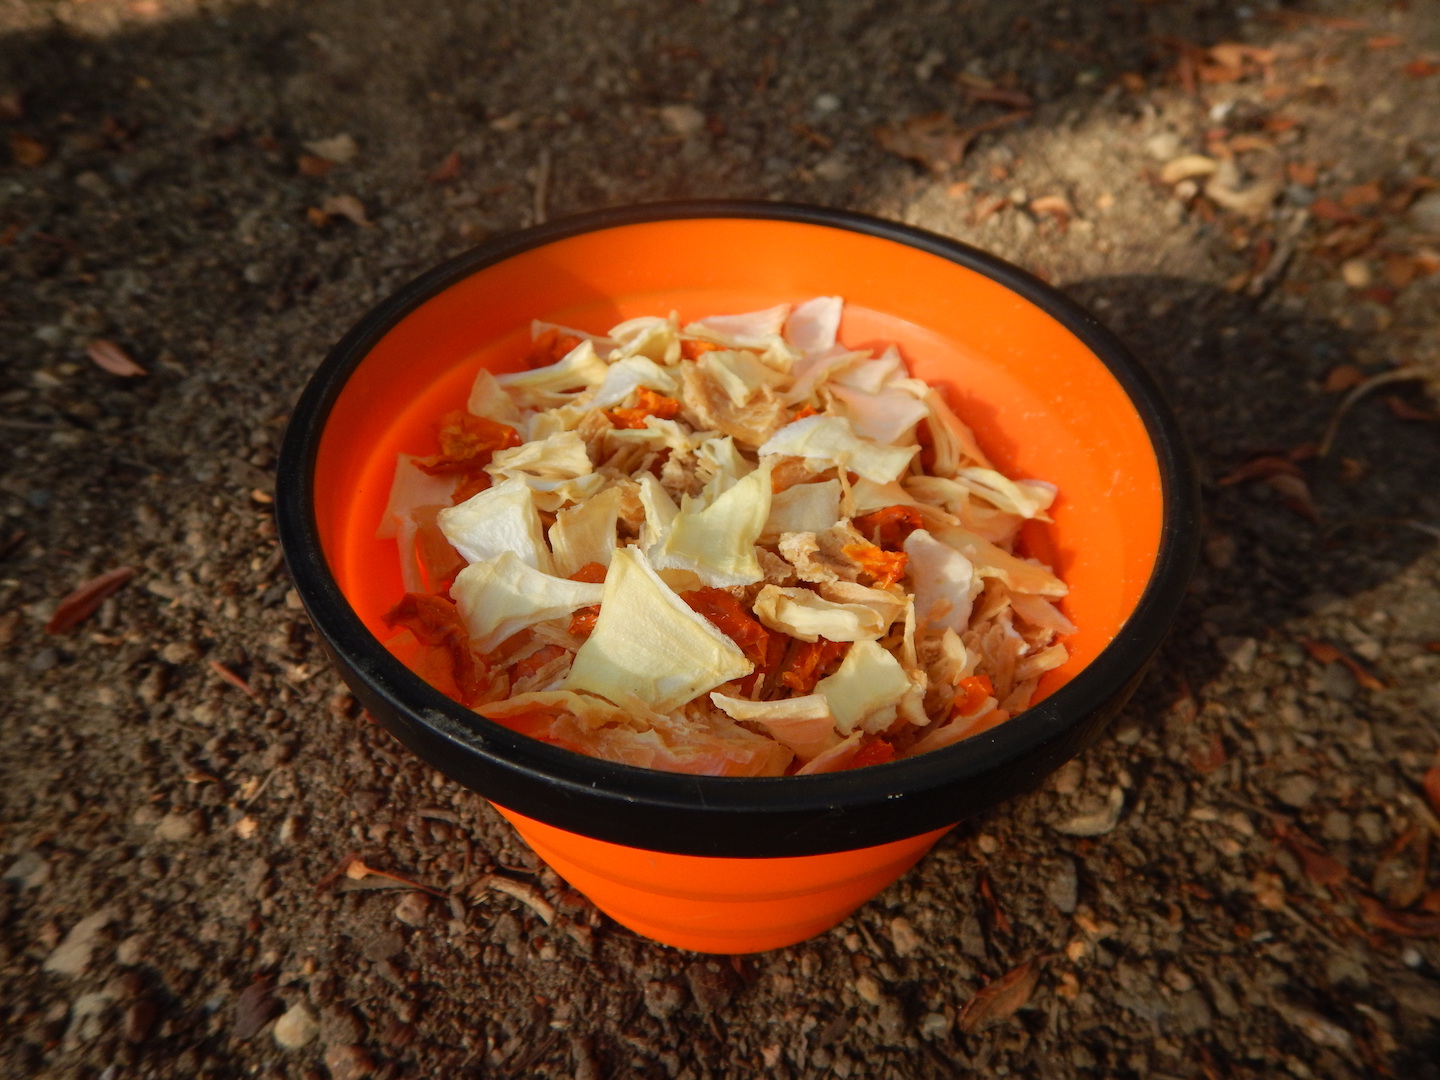
Our prep took less than an hour using mostly a blender to mix all the ingredients. Once the fruit leathers and lemon bars were mixed, we poured and spooned the ingredients into the dehydrator trays, using one unit for the fruit leathers and another for the lemon bars. We flipped the switch and 8-10 hours later had an unbelievable amount of food! It was like Christmas!
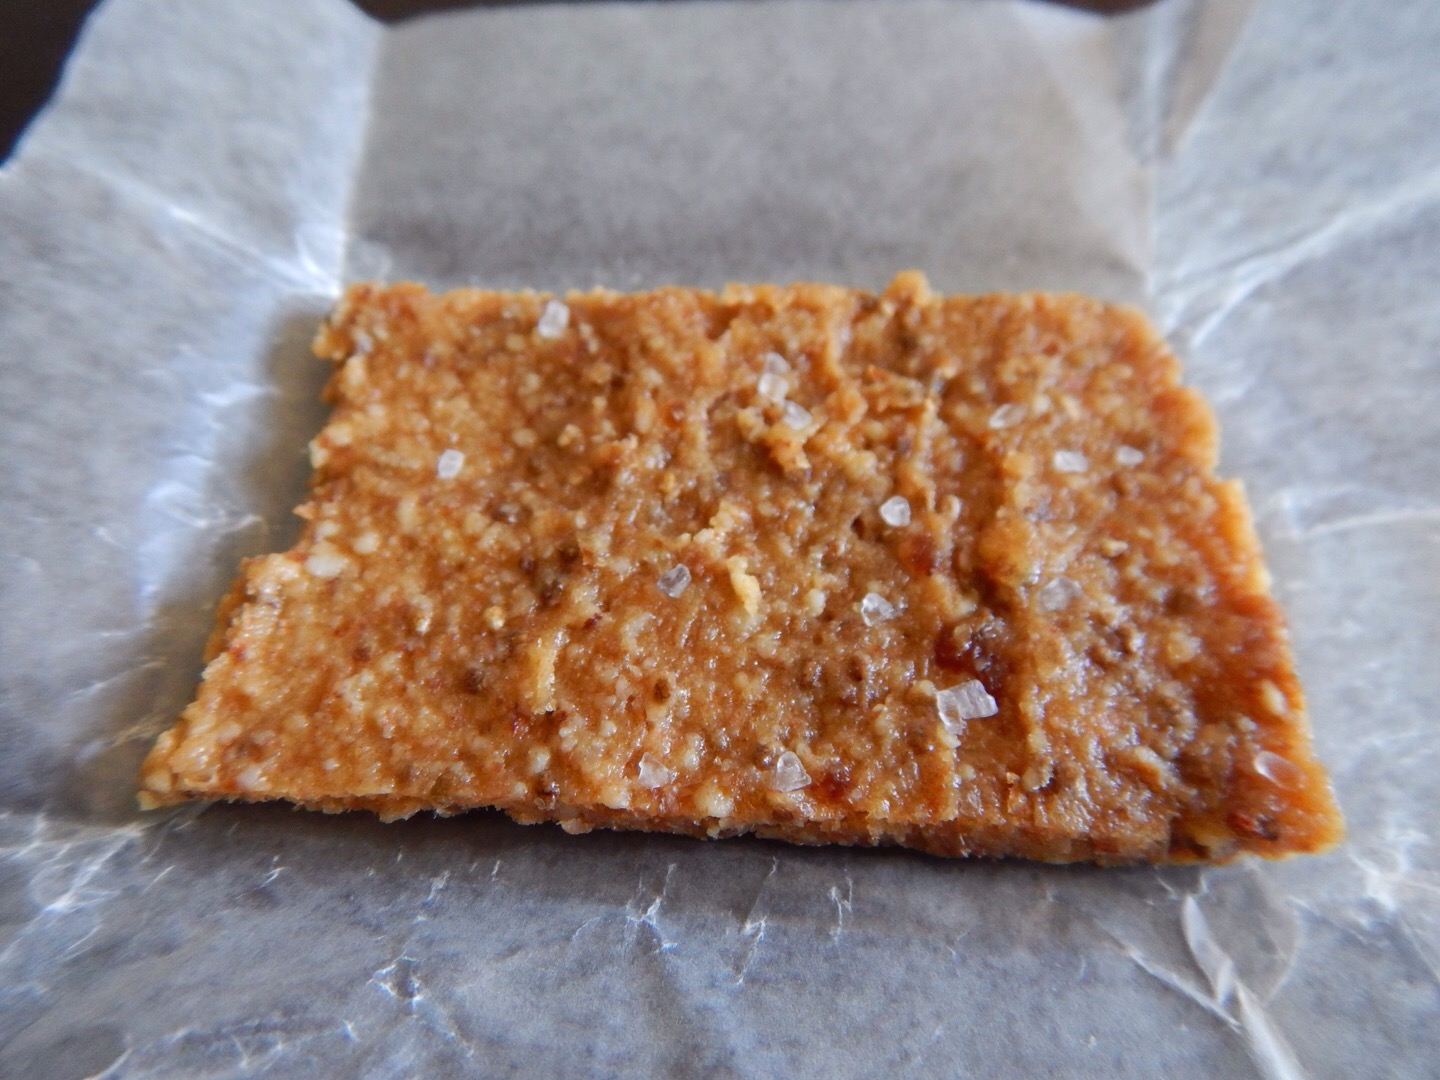
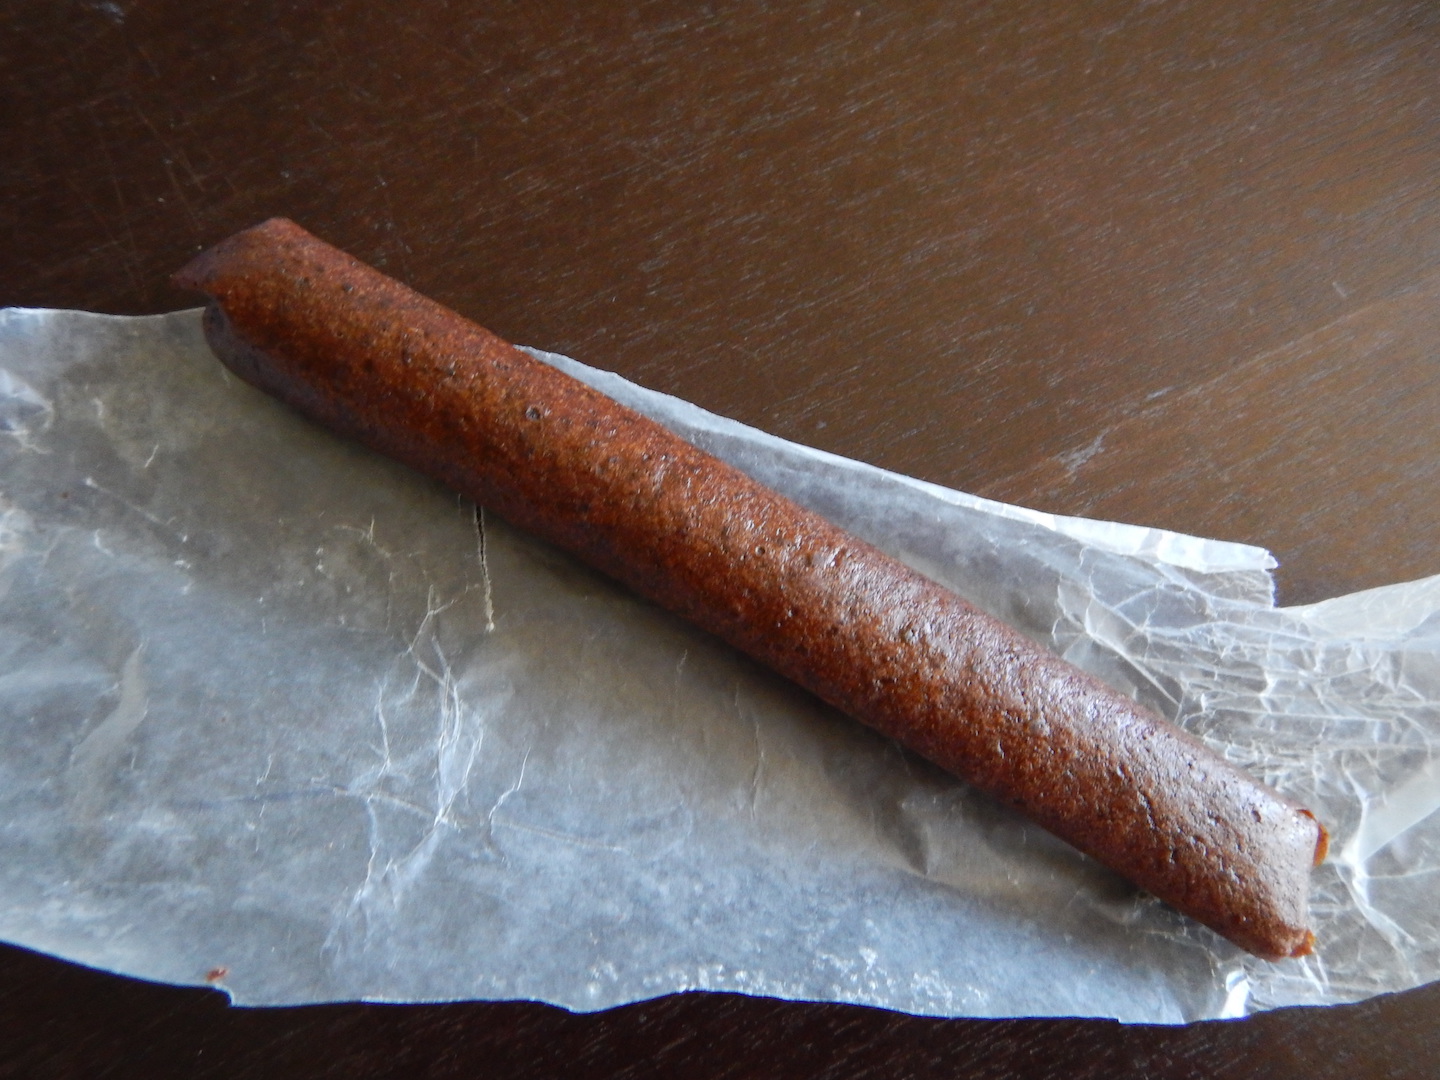
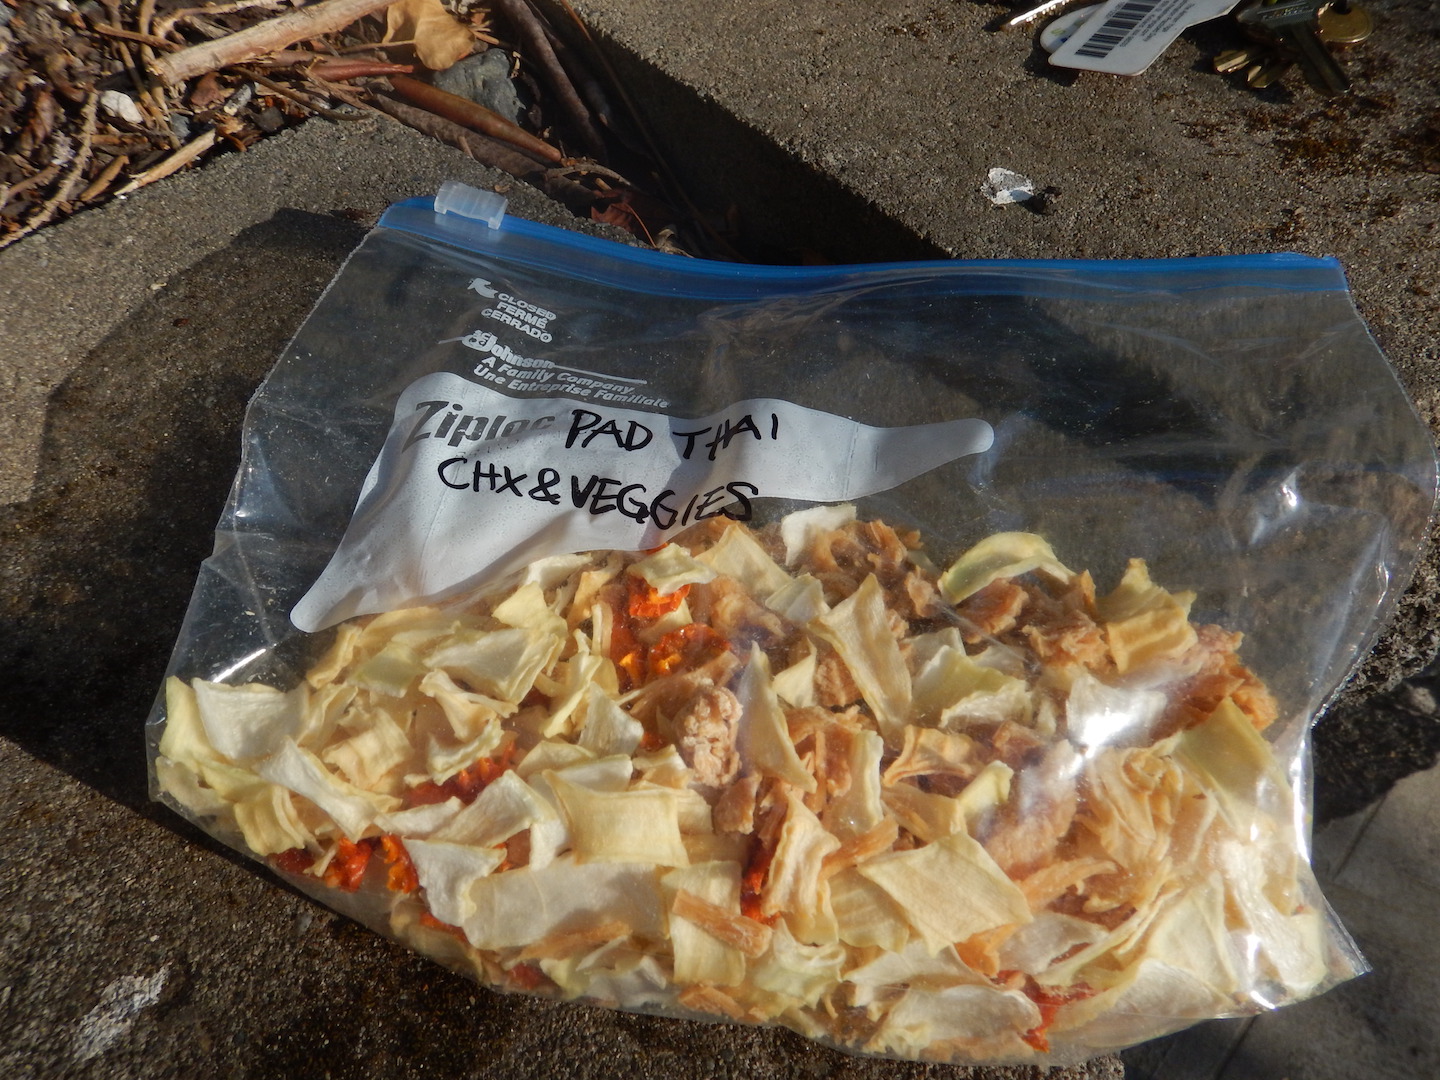
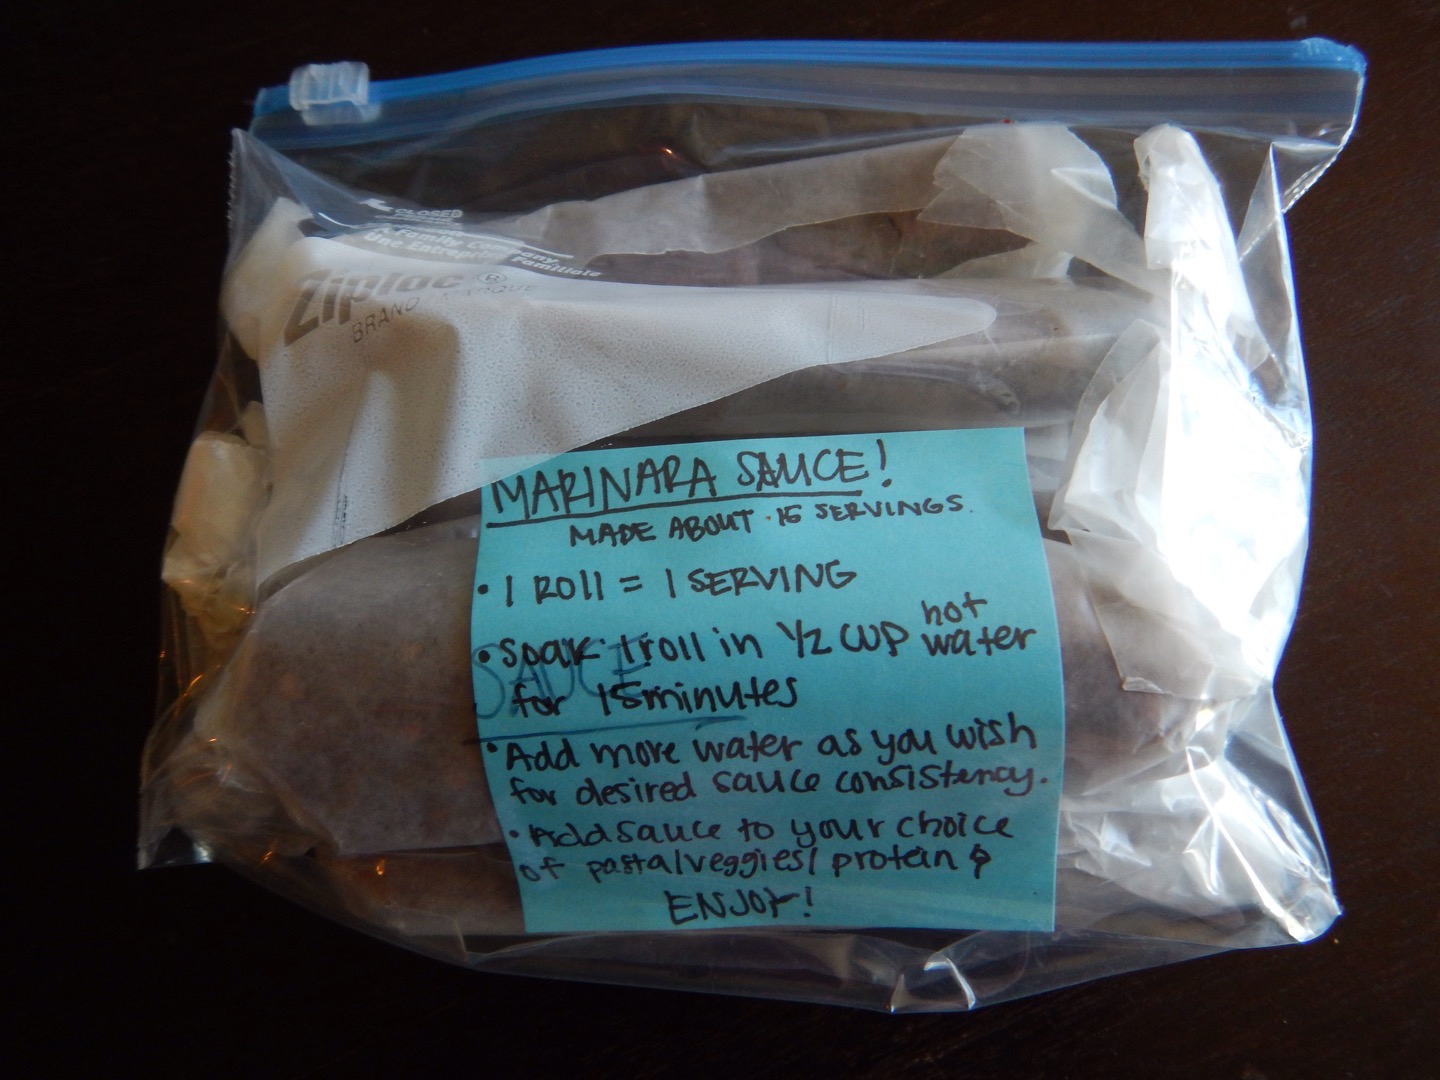
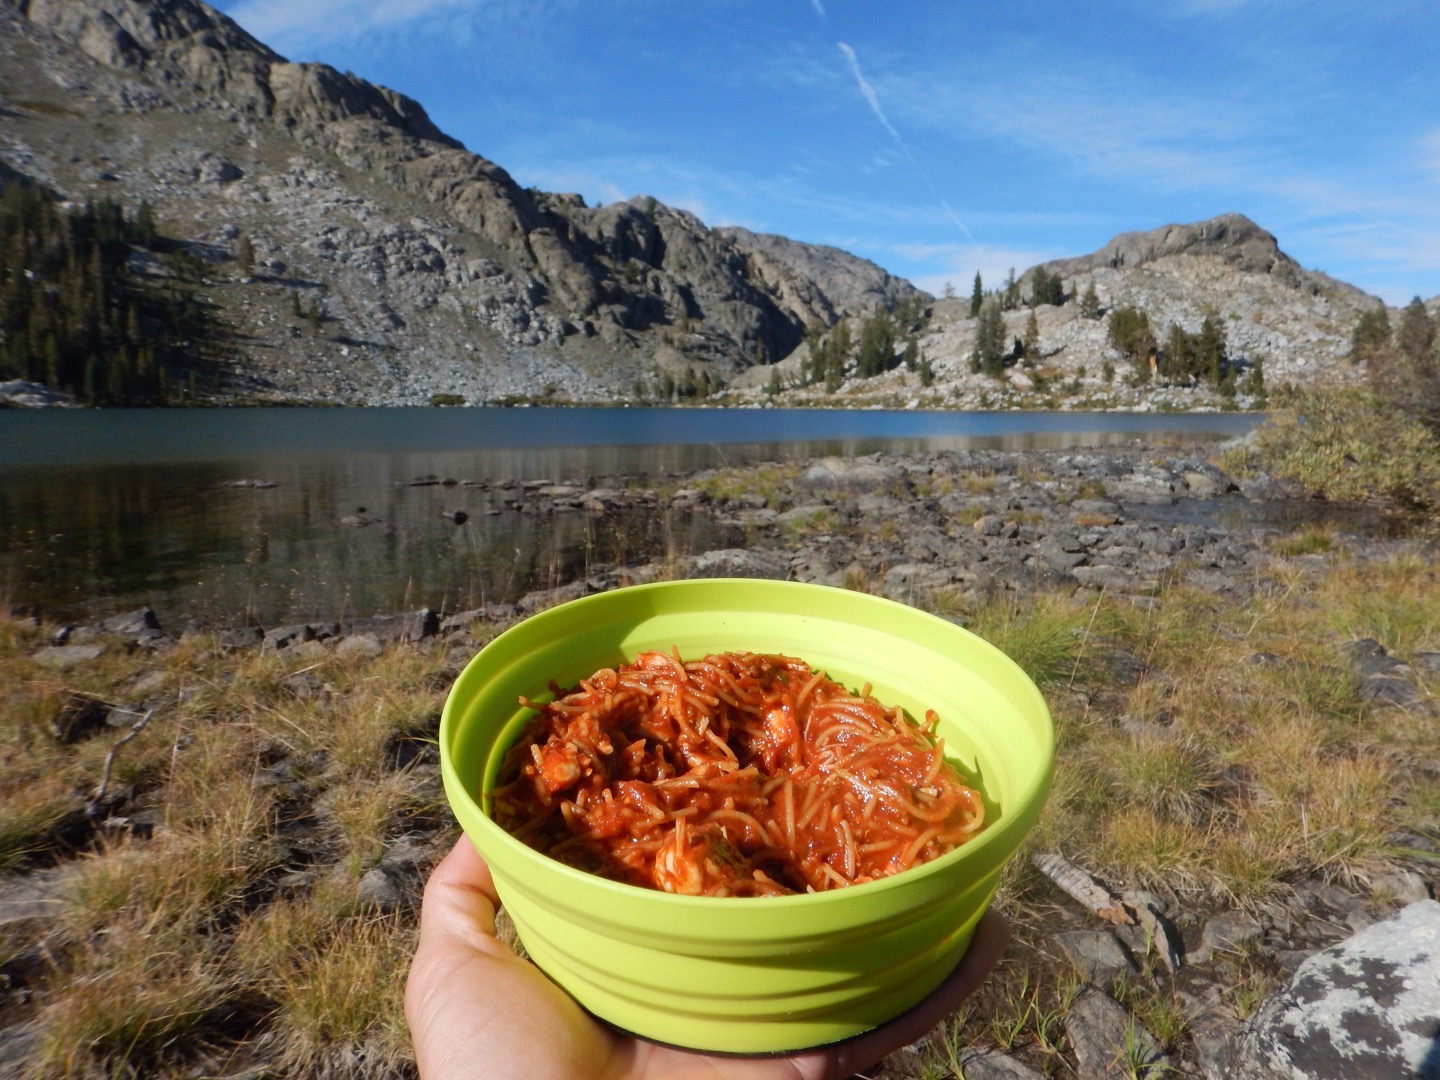
When it came time for my JMT adventure, Liz and Carly helped me dehydrate a large batch of lemon/date bars, fruit leathers, and a marinara sauce that became my favorite pasta dinner on the trail.
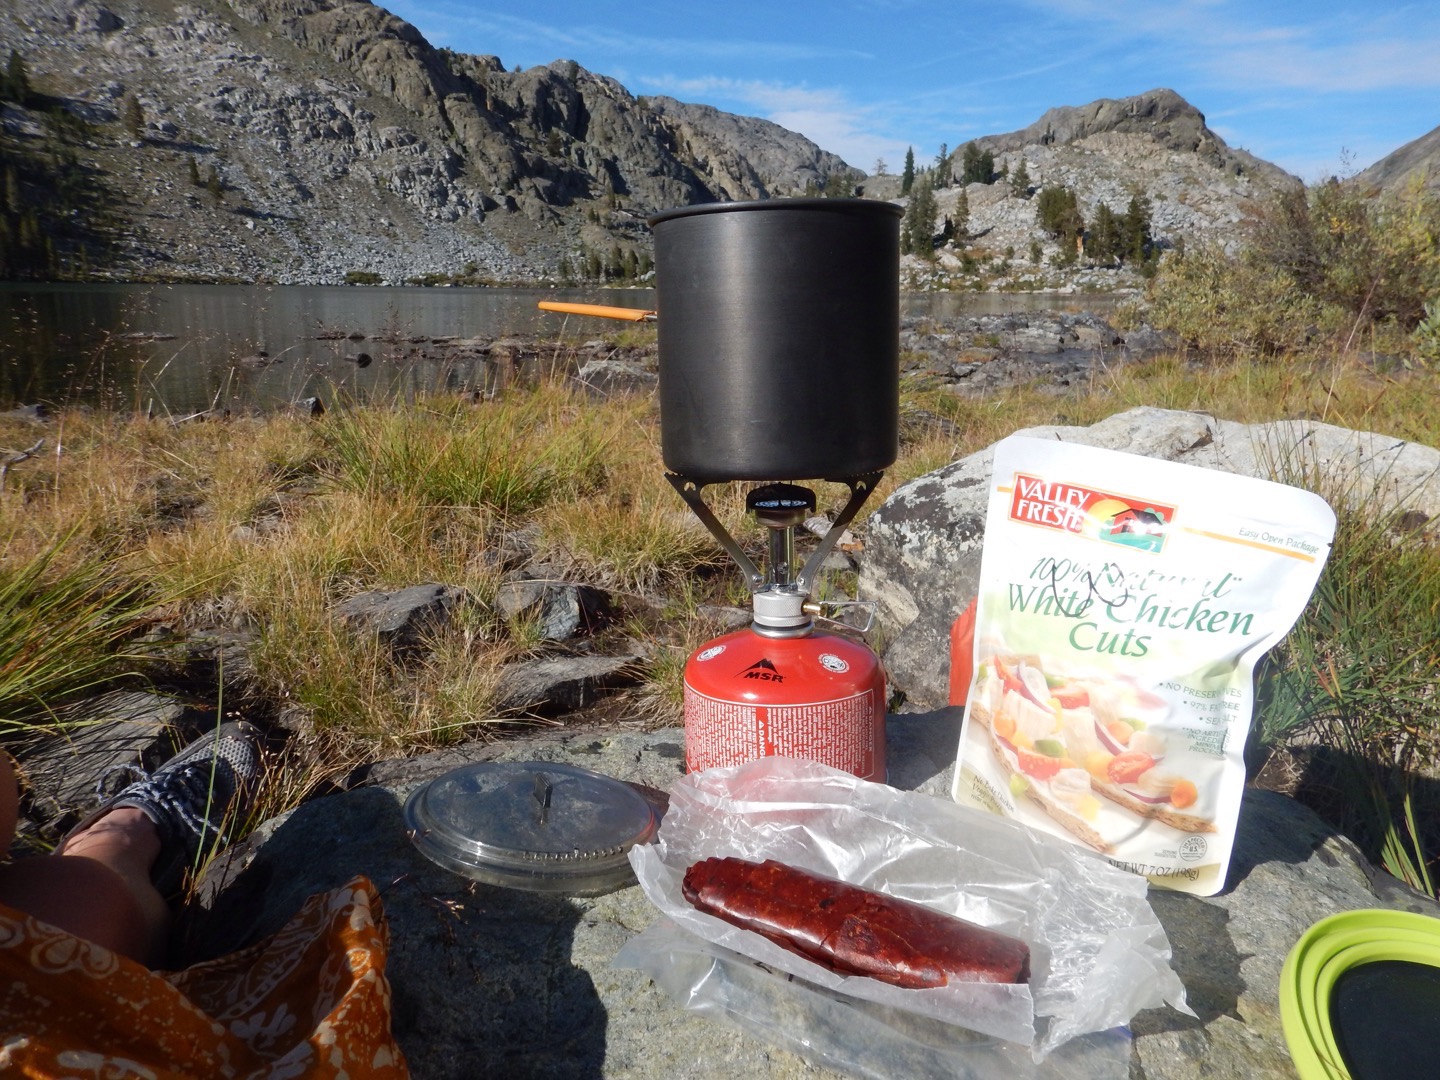
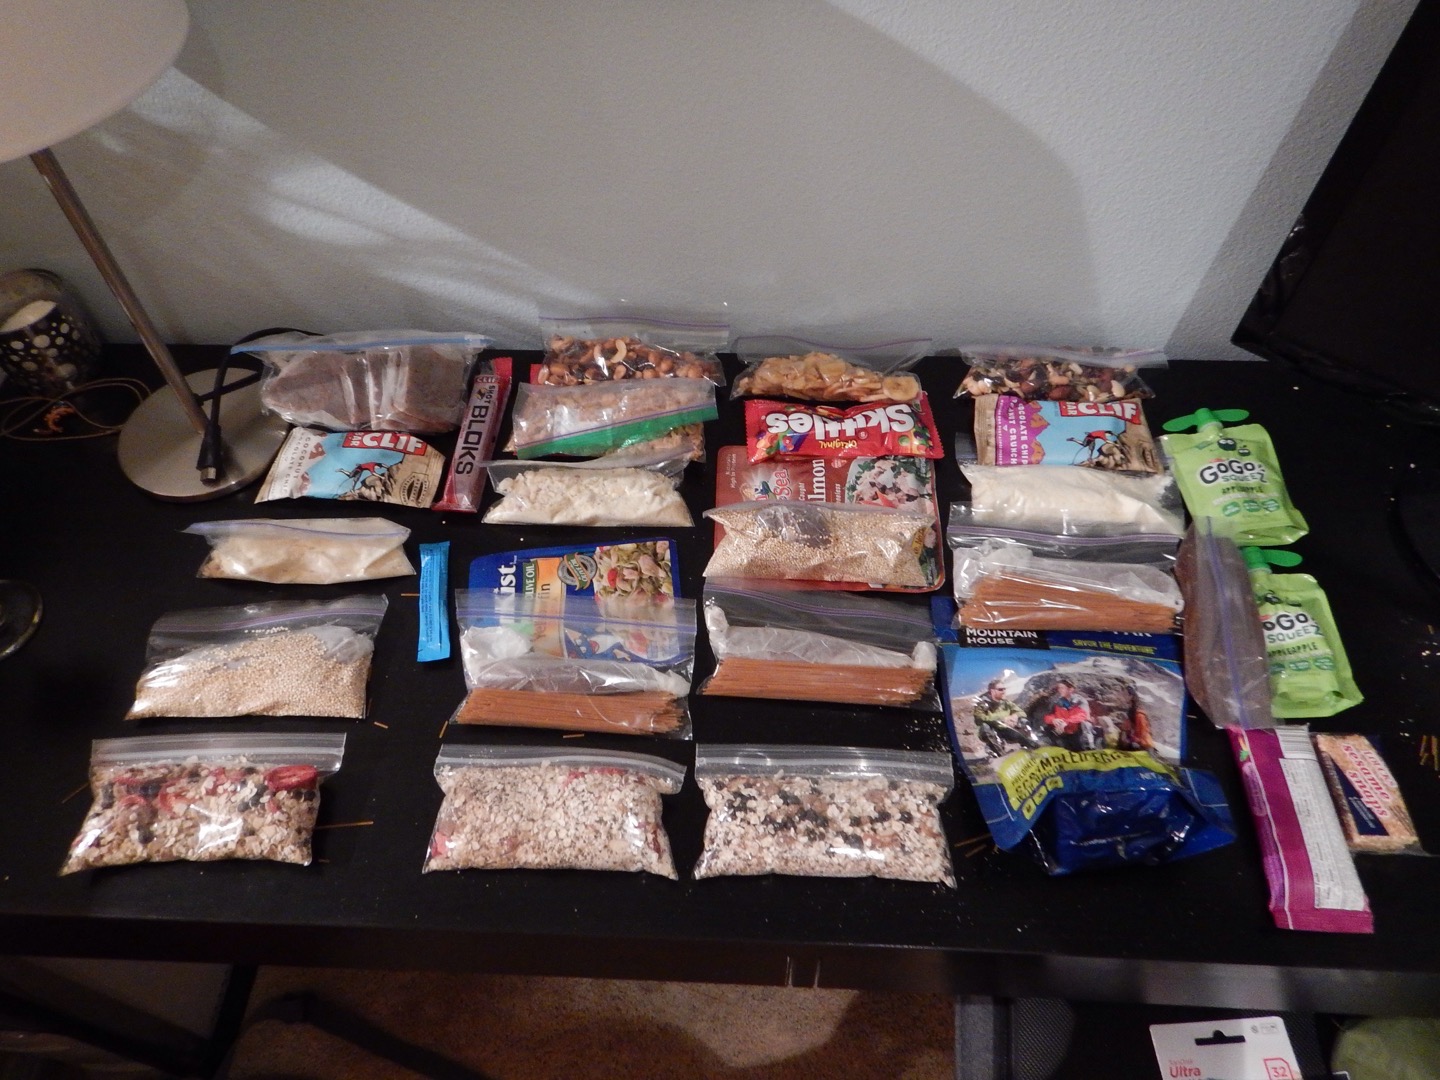
Combining homemade dehydrated food with some of my other favorite backpacking foods like couscous, instant mashed potatoes, and oatmeal allowed me to carry a lot of food with less bulk and weight than prepackaged meals.
Dehydration is an easy way to create tasty everyday snacks as well as lightweight backcountry food. Although my JMT experience ended prematurely due to wildfire smoke, I had a delicious smorgasbord of food on the journey thanks to the Adventure Film School. I can’t thank them enough for their help and expertise and most importantly, for introducing me to the amazing art of food dehydration.
Below are some tips and tricks for dehydrating your own food as well as recipes and comparisons of the best reviewed dehydrators on the market. Enjoy!
Why food dehydration?
- Anyone can do it! It’s simple, affordable, and easy!
- The possibilities for a delicious backcountry meal are endless!
- You can eat much healthier and nutritiously from homemade food.
- You can cater to your specific dietary needs.
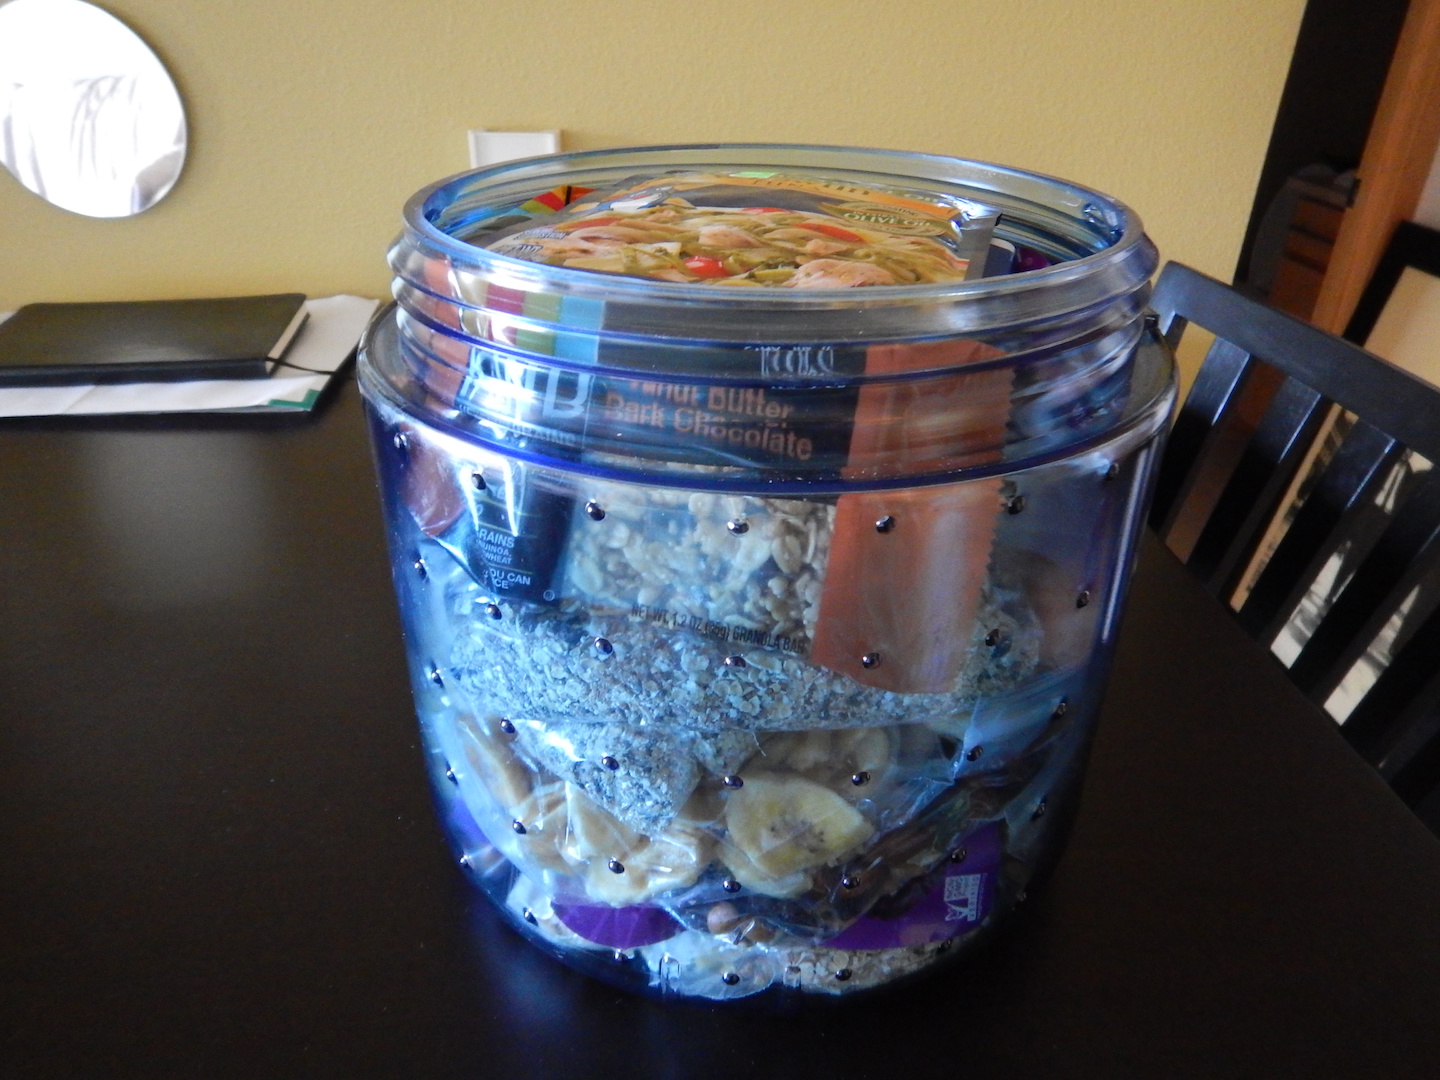
- Most importantly, you can make a lot of food pack into a very small space! I was able to fit 7 (yes 7!) full days of food (breakfast, lunch, dinner AND snacks) into a tiny 7.2L BearVault soloist canister. There’s just no way I could have done that using prepackaged food.
Recommended Dehydrators
It doesn’t take much of an investment to get started. Base model dehydrators retail in the $35 – $75 range and are perfect for the average home user. These lower cost stackable models are easy to use and have a small footprint. If you plan to regularly dehydrate a lot of food, you should consider investing in a more advanced box-style model. They start around $200-300 and buy you more trays, more consistent heating, and a timer so you can set it and leave it. The following units are highly recommended and most come with recipe books as well. I bought a Nesco Snackmaster Pro FD-75A and have been thrilled with it so far!

Nesco Snackmaster Pro FD-75A One of the best selling food dehydrators of all time and with a top-mounted fan, tray rotation isn’t necessary.
Price: ~$60
Temp Range: 95º-160º F
Trays: 5, max: 12
Wattage: 700 watts
Dimensions: 13” H x 13” W x 10” D
Weight: 6 lbs
1 year limited warranty
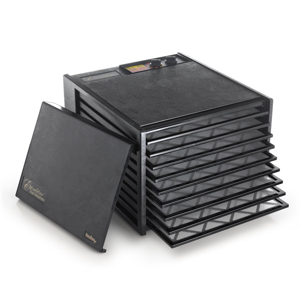
Excalibur 3926TB Perfect if you’re frequently dehydrating a lot of food! 15 sq ft of drying space and a 26-hr timer.
Price: ~$250
Temp Range: 105º-165º F
Trays: 9, max: 9
Wattage: 400 watts
Dimensions: 12.5″ H x 17″ W x 19″ D
Weight: 22 lbs
10 year limited warranty
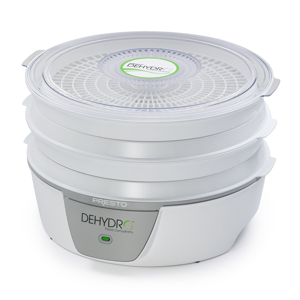
Presto 06300 Dehydro Electric A small affordable unit great for doing fruit and vegetables. More limited temperature range but very compact and small making it great for traveling.
Price: ~$35
Temp Range: 135º-145º F
Trays: 4, max: 8
Wattage: 600 watts
Dimensions: 14.5” H x 15” W x 6.2” D
Weight: 7.5 lbs
1 year limited warranty
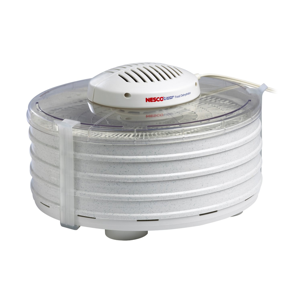
Nesco FD-37A American Harvest Food Dehydrator A compact design that accommodates up to 7 racks.
Price: ~$35
Temp Range: 95º-160º F
Trays: 4, max: 7
Wattage: 400 watts
Dimensions: 14.1” H x 9.2” W x 14.2” D
Weight: 4.7 lbs
1 year limited warranty
Tips for storage and prep
- Store dried foods in air-tight containers or freezer bags and remove all the air from the bags before sealing.
- Do not package dried foods for storage until they are completely cool to the touch.
- Store dried foods in small batches to maintain freshness.
- Dried fruits and herbs can be stored for up to a year.
- Apples, pears and other fruits prone to oxidation can be treated with citrus juice or ascorbic acid to retain color.
- When dehydrating fruit leathers, spread the mixture evenly across the tray and aim for about 1/8″ thickness, slightly thicker at the edges as they dry the fastest.
- Consider buying ripe fruit at a bulk discount. You can dehydrate it to preserve it and you’ll have a lot of tasty fruit snacks and leathers that last a long time!
Recipe Resources
- Adventure Film School: recipes for great backcountry meals, including fruit leathers and other yummy snacks!
- BackpackingChef.com: tasty bark recipes as well as a tomato sauce leather recipe.
- Dailyburn.com: a collection of 9 delicious fruit leather recipes from around the web.
- The Rawtarian: pretty much the same recipe for lemon/date bars that I used. Delicious!
***********
I hope if you take the plunge you’ll find it as fun as I do to create your own outdoor food. Have any favorite recipes or additional tips? Drop me a comment! Happy home dehydrating everyone!